I’ve been planning to do a blog post on bullet journaling for almost a year now…and it just keeps slipping out of my grasp. Which means that my task labeled BJ post (yes, I laugh every time I see it too) has reached the point in my to-do list process where I either need to do it or dump it (more on this in a moment). So I am doing it, because I don’t want to dump it.
If you’re new to the term Bullet Journal, I suggest a quick internet search. There are tons and tons and tons of posts about what a bullet journal is, how to use and make one, and so on. Don’t look too long at the BuJo porn pictures, however, because if you’re like me, you will become intimidated and distraught at how beautiful some of these journals are and how un-beautiful yours is and you will never make one. But, as I keep telling myself, a bullet journal isn’t about making shit pretty, it’s about getting shit done. (Although if you can also make it pretty, I have nothing but envy and best wishes for you).
Okay, so go do your googling. Don’t get lost in the pictures. Come back soon, and I’ll give you the quick and dirty run-down of how I use a bullet journal for writing.
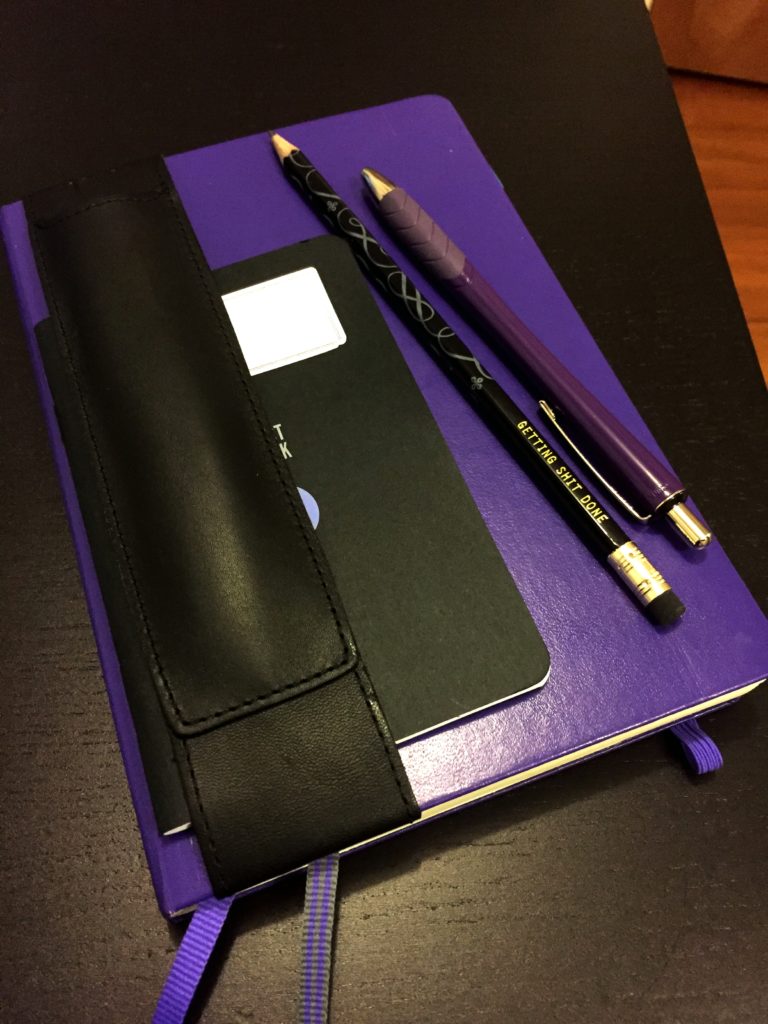
Here are my main tools. I like to keep it simple and easy, since I move around a lot and often write in coffee shops and away from my desk. This is the whole shebang: the Leuchtturm1917 A5 dotted journal; a small Checklist Notebook (Efficiency Supply); PaperMate InkJoy pen; Fucking Brilliant pencil (Calligraphuck); and a wraparound pen/pencil holder.
Here are the main sections that I have in my Bullet Journal:
1. Yearly writing calendar. The next two years, divided into months, with the projects that I’ll be working on each month and their deadlines. I write them in pencil, because they move around a lot. When something is complete, I write it in pen in that month, so I can always go back and see what I was working on when.
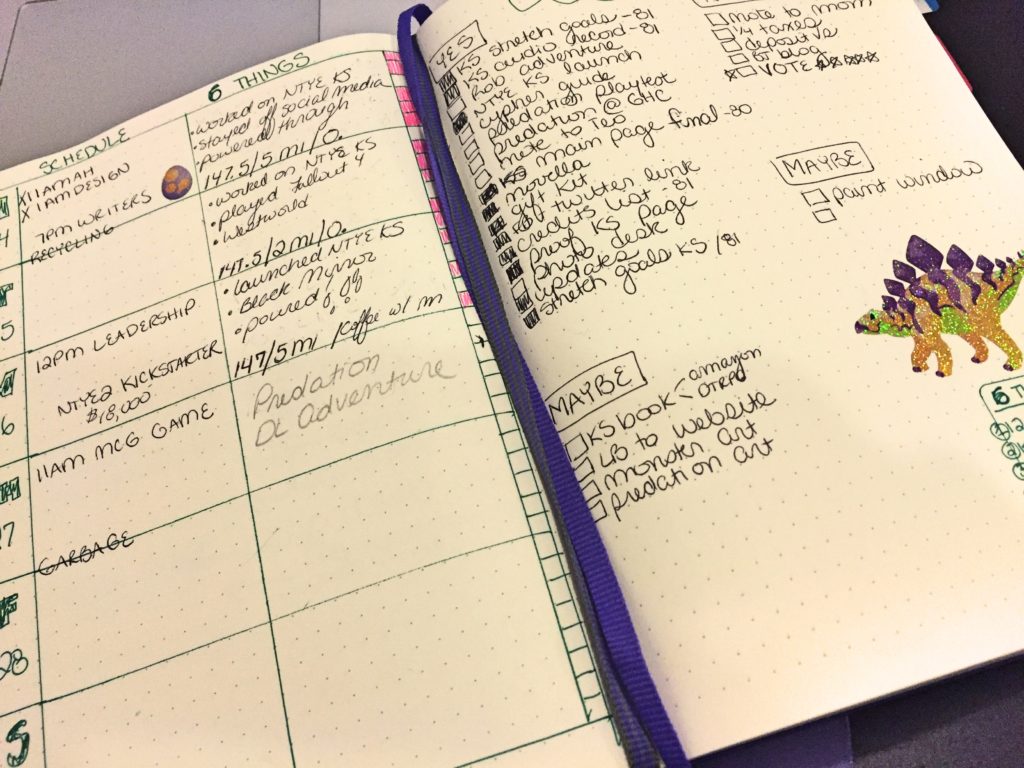
2. Weekly spread. I keep my weekly spread clean and simple, partly because I have no artistic skills, but also because I need lots of room to write tasks and notes.
I make a simple calendar on the left. Each day, I write the things I’d like to accomplish in pencil and then if I do them, I erase them and mark them off on the main checklist to the right. At the end of the day, I might write in some stuff I did, or things I want to remember. The pink boxes are my 6 things to do each day. They vary from week to week. This week, they’re mostly about taking care of myself and not working too much, because I’ve had a hell of an autumn so far.
On the right, is the general to-do list of things that I want to tackle this week. I add things to the bottom of the list all week long as they come up. There is no general order other than WORK and NOT-WORK and YES and MAYBE. YES are things that must be done this week. MAYBEs are things that I’d like to do. If I move a MAYBE task more than a few times, it gets moved to YES or it gets dropped entirely (see my earlier note about writing this blog post!). If a task comes up that’s for next week, I just add it to the next spread, getting a jump start on next week’s to-do list.
If a task is tied to a project (see Projects, below), I put the main page number of the project after it for easy reference.
3. Projects. I typically work on a LOT of projects at once. This is the way that I like to work, but oh my god, keeping track of the details of each one used to be a disaster. I’d have a separate notebook for each project, but then I’d forget to bring that notebook and I’d write notes in the wrong notebook and then I could never find anything. Then, I tried keeping every project in the same notebook by sections. But it was impossible to tell when you started a project how much room it would need, and some projects flowed over into other sections, while other projects had too much empty space, and I still couldn’t find anything.
This, for me, is where the bullet journal shines. I have a sticky tab that says PROJECTS. Behind that tab lives every single project I’m currently working on, completely organized and discoverable, while also being incredibly flexible. Here’s how:
First, every major project gets a main spread. Left side gets the giant to-do list for that project — everything that I think I will need to do in order to complete it. On the right-hand side, I make notes about deadlines, word count, publisher, contracts, anything and everything that I might need to refer to about the project.
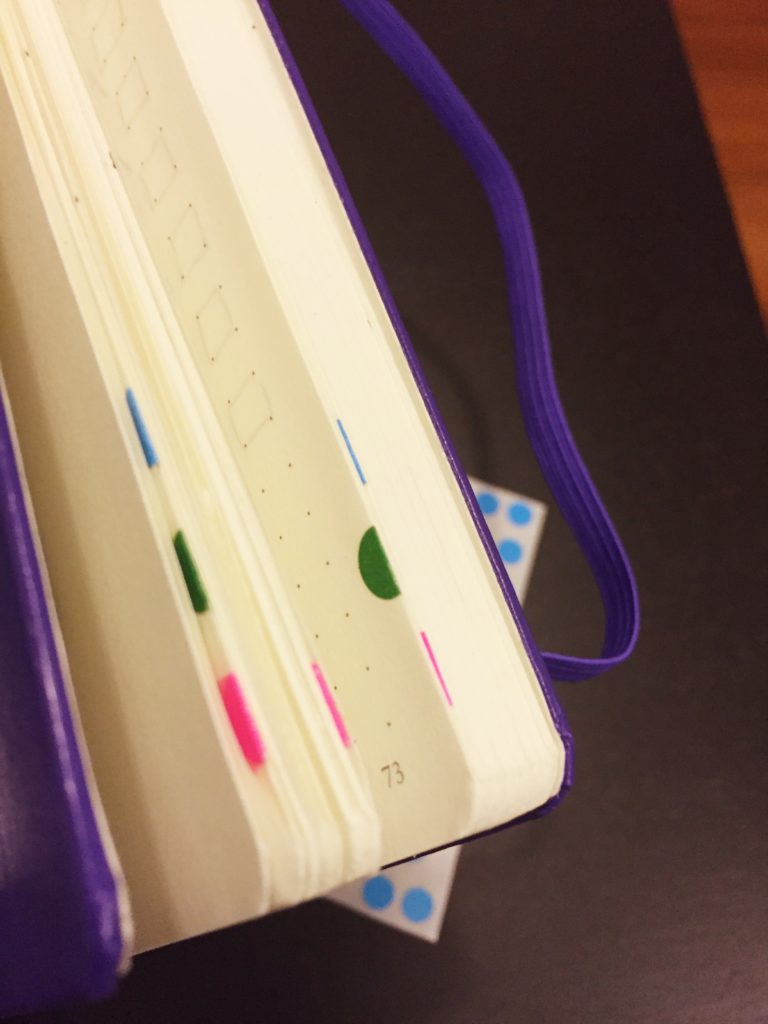
This spread then gets a tiny fold-over dot along the edge in a unique color. In the image below, for example, you can see a pink dot near the front. That’s the main planning page for the No Thank You, Evil! Kickstarter that we just launched. This is also the page that the to-do list items refer to as well (which I mentioned earlier).
I made a few pages of NTYE Kickstarter notes, and then I needed to work on a different project, Predation. So, on the next empty page, I started writing about Predation. I tagged that page with a green dot. And so on. Every non-sequential page for each project gets a folded dot in that project’s color. This means that no matter where the notes on a project fall in your notebook, you can find them all easily. You’ll notice that I have three main projects here, and they all overlap. (That first page you see with three dots is the index–the names of the projects are written next to the dots there, so I can easily see which one is which).
Sometimes, smaller projects and general notes get interspersed between the larger projects. A lot of times these are what I call my thinking notes — places where writing helps me figure something out, but where I don’t need to go back and re-read that information. Once I’m done making ‘thinking notes,’ their work is done, and it’s okay for them to get lost in between the bigger projects.
Sometimes, the notes are things that I will need to find again in the future. Maybe an idea for a short story, or some title ideas, or whatever. Each of these pages gets a short title and page number written in the index in the front of the notebook. (That’s on the same page as the “dot index” I mentioned). Then, I can just scroll that list and find whatever I’m looking for.
4. Lists. The very back of the journal has a section that is just lists. Things I love. Things I want. Things I accomplished. Gifts I’ve given. Books I want to read. They’re not comprehensive or complete, and I don’t need them to be. Instead, it gives me a place to write something down that isn’t a scrap of paper stuffed in a drawer somewhere.
I believe I’m on my fourth bullet journal for this year (and probably my last ~ this one might carry me as far as February or March of 2017). The first three are labeled (Leuchtturm1917 provides nice labels with each notebook) and tucked onto my shelf. Will I ever look at them again? I don’t know. But this year, they helped me lead a company, run two Kickstarters, write four books, and accomplish myriad other tasks, so I’d say they’ve earned their retirement.
And now, finally, I can go check that task ~ BJ blog ~ off my to-do list.
Kiss kiss bang bang, s.
Thank you so much for this post, Shanna. It’s no surprise to me that you’ve made your own awesome twists, and you’ve inspired me to take the plunge.
After three years(and counting) acting as full time caregiver for my wife my creative projects have struggled for sunlight in the chaos that is raising two young girls, juggling schedules, appointments, bad days and migraines. It does matter if it’s writing, woodworking, graphic design or fiber arts, they all end up as U.F.O.s before too long.
Now I feel like I might be able to track what I WAS working on two weeks ago, what I had planned to work on last week when I had to toss the schedule ass over teakettle, and possibly plan to actually make some deadlines!
Thank you, thank you. 🙂
This is giving me so much inspiration and ideas for my bullet journal. I miss handwriting my poems so I write poems as they come up into my bullet journal.
Great introduction to Bullet Journaling, It certainly looks like a method that would work for me. I was wondering where you found the wrap around pen holder. I can’t seem to find it.
Hi John!
The holder is designed for Moleskine, but works perfectly for the notebook I have as well. The one that I got is made by Quiver Global. They’ve a bit pricey, but it has held up incredibly well.
http://www.quiverglobal.com/large-a5-double-pen-holder-stylus-holder-quiver/
That’s perfect! They even have it in an Extra Large (A4) size! I am going to order both right now. Thanks!
Nice insight into how you accomplish so much.